Private key management
The wallet setup centers account access on a dedicated hardware device and a recovery backup, rather than a hosted account alone.
Trezor pairs a dedicated hardware wallet with Trezor Suite so you can set up accounts, verify addresses, confirm transactions, and keep a recovery backup for supported crypto assets.
Trezor Suite gives you a clear place to add accounts, check balances, receive assets, send transactions, and review account history. Before transferring, confirm the coin, network, address format, and device compatibility.
View supported coins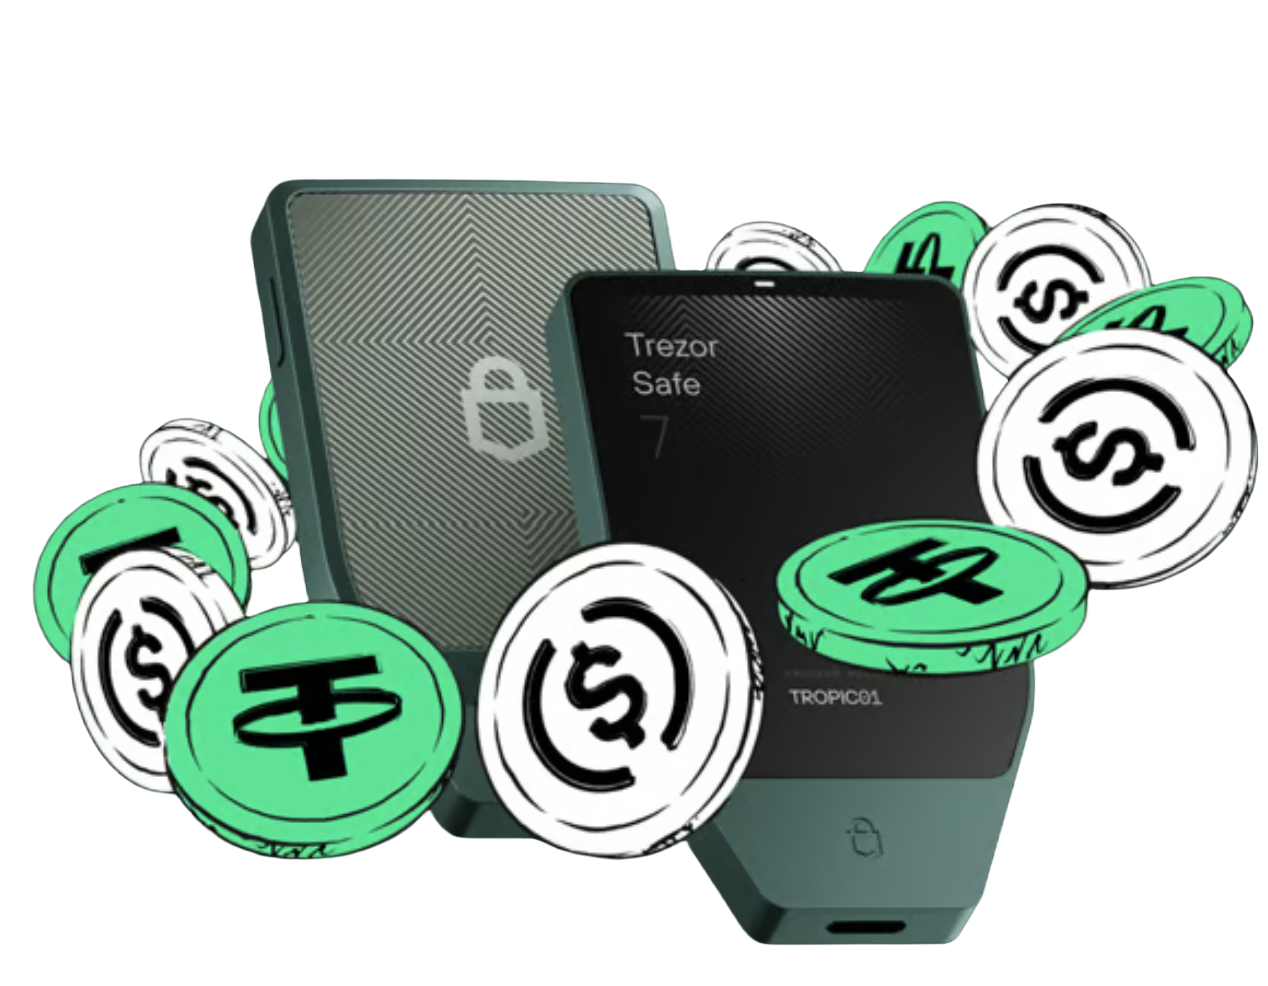
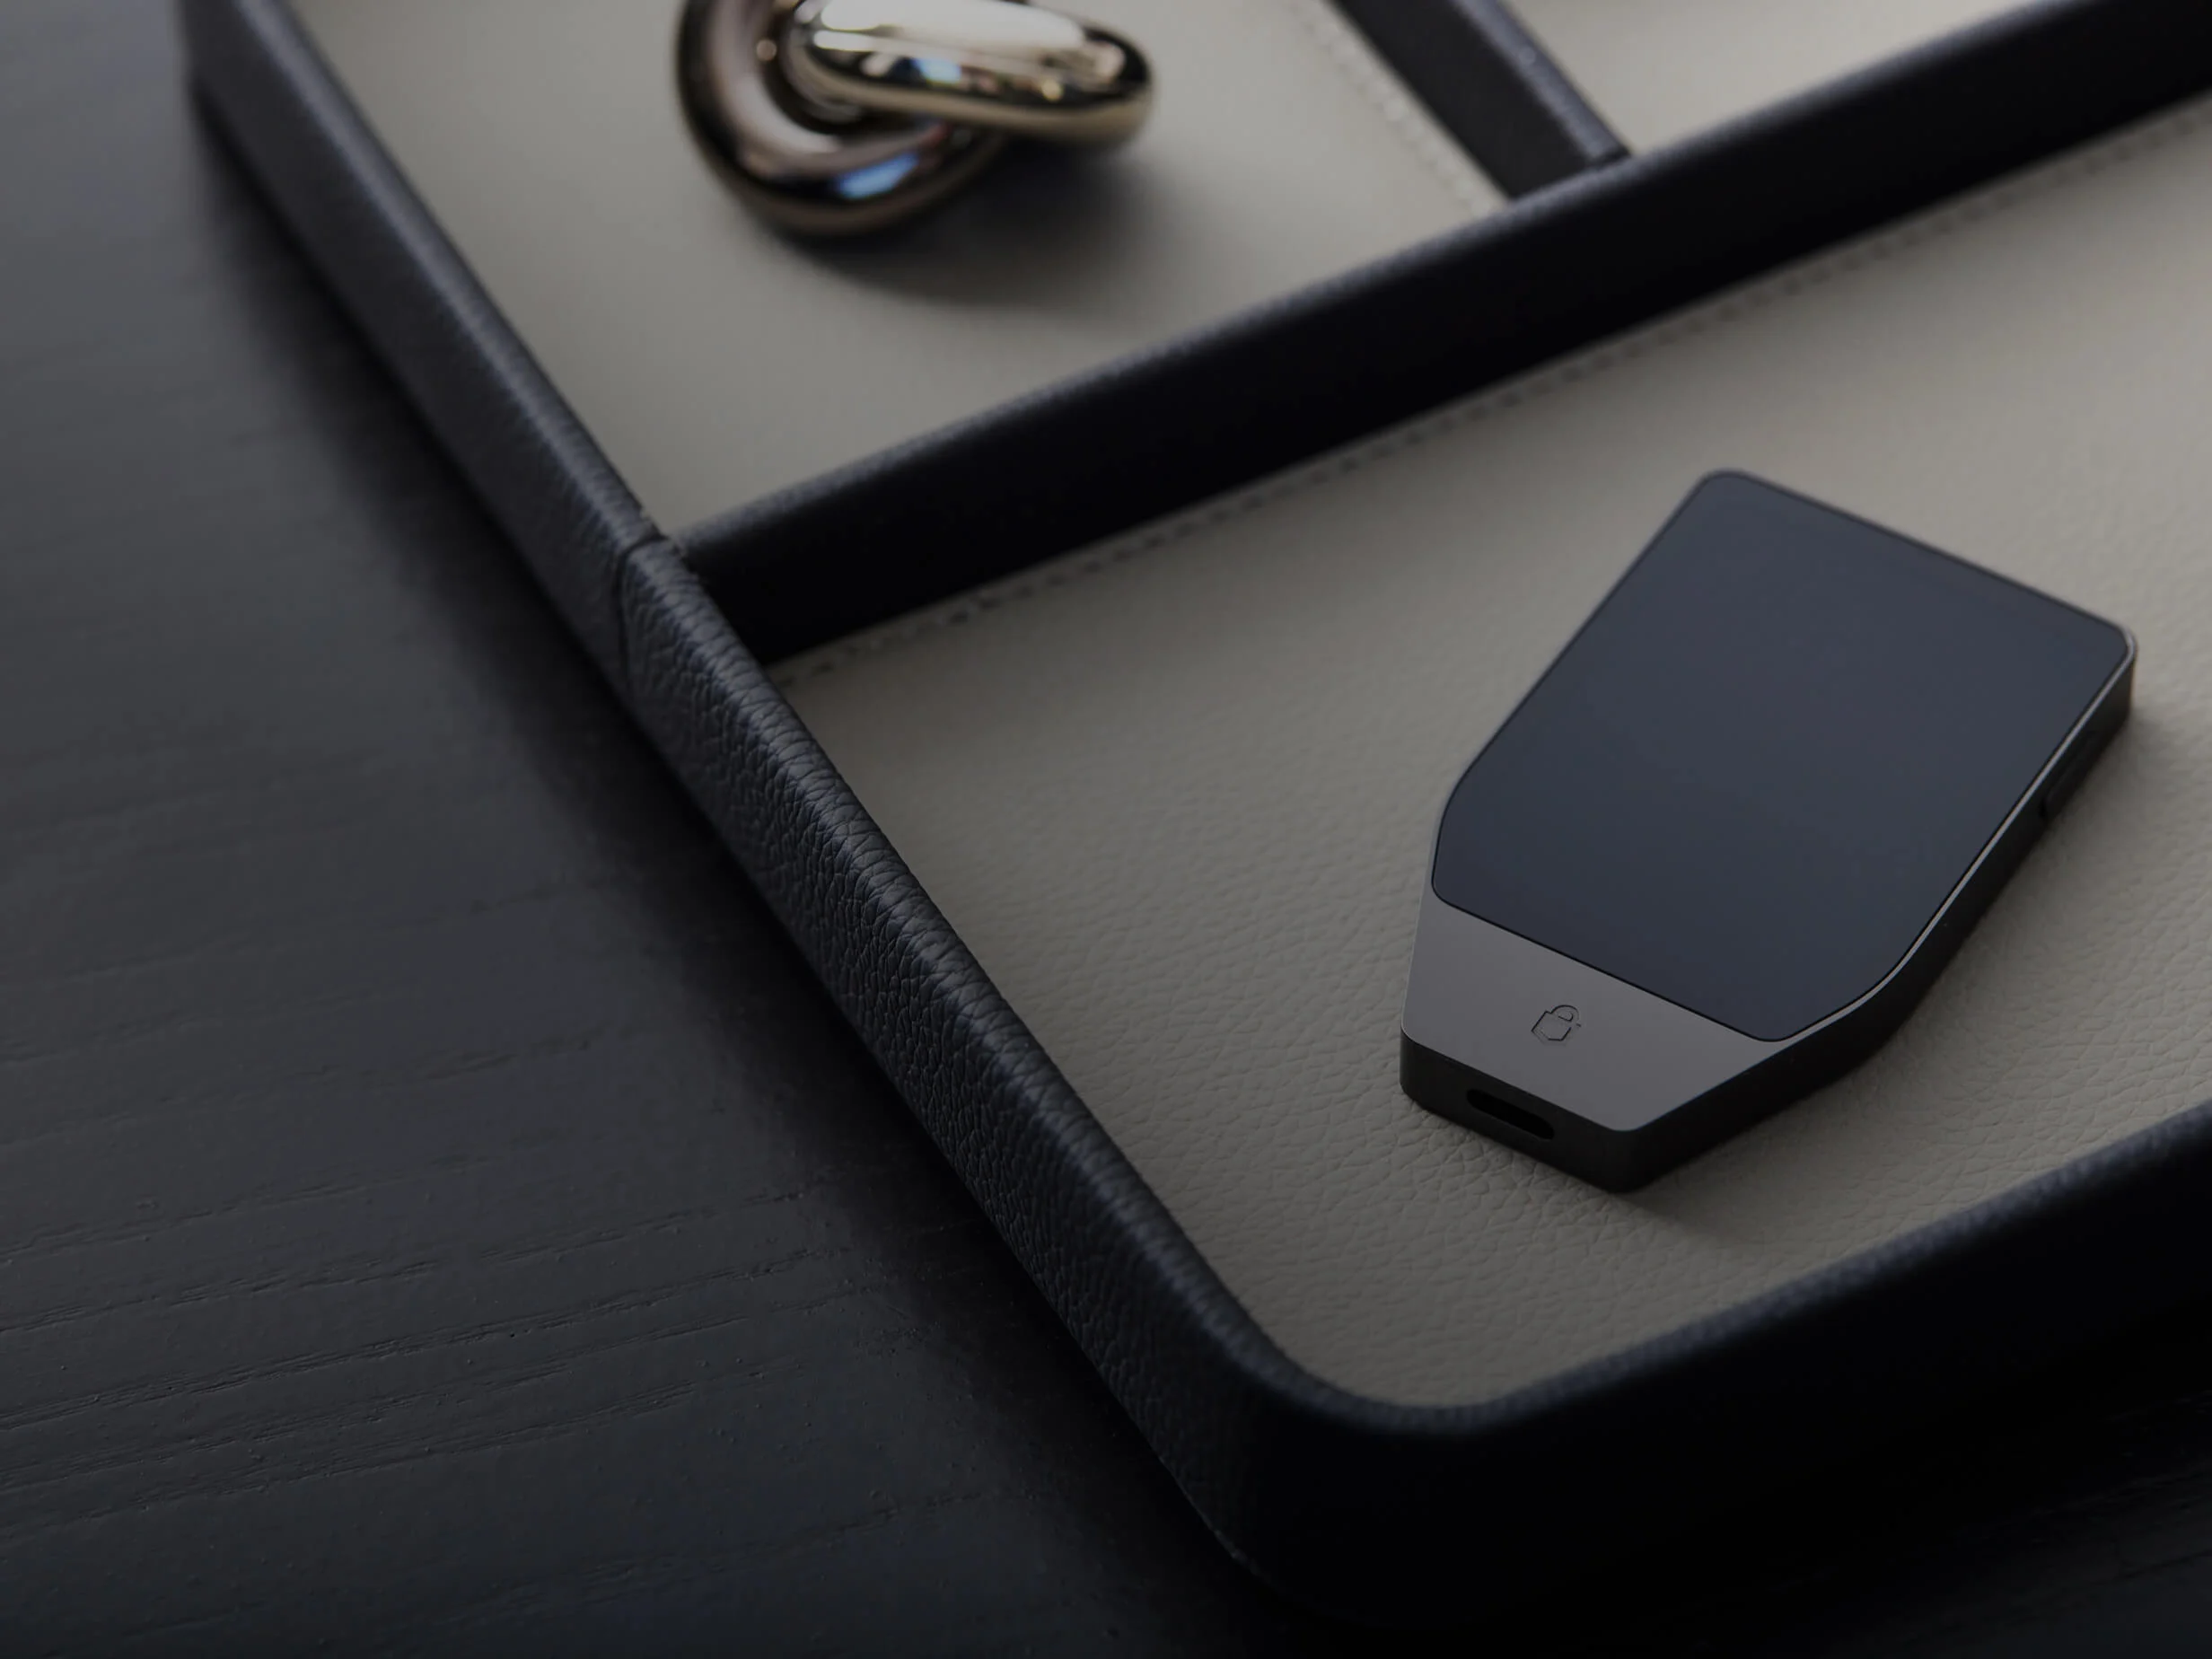
A Trezor hardware wallet is designed for self-custody. The device is used to hold the wallet workflow and confirm actions, while the recovery backup provides a way to restore access on a compatible device.
Learn how Trezor works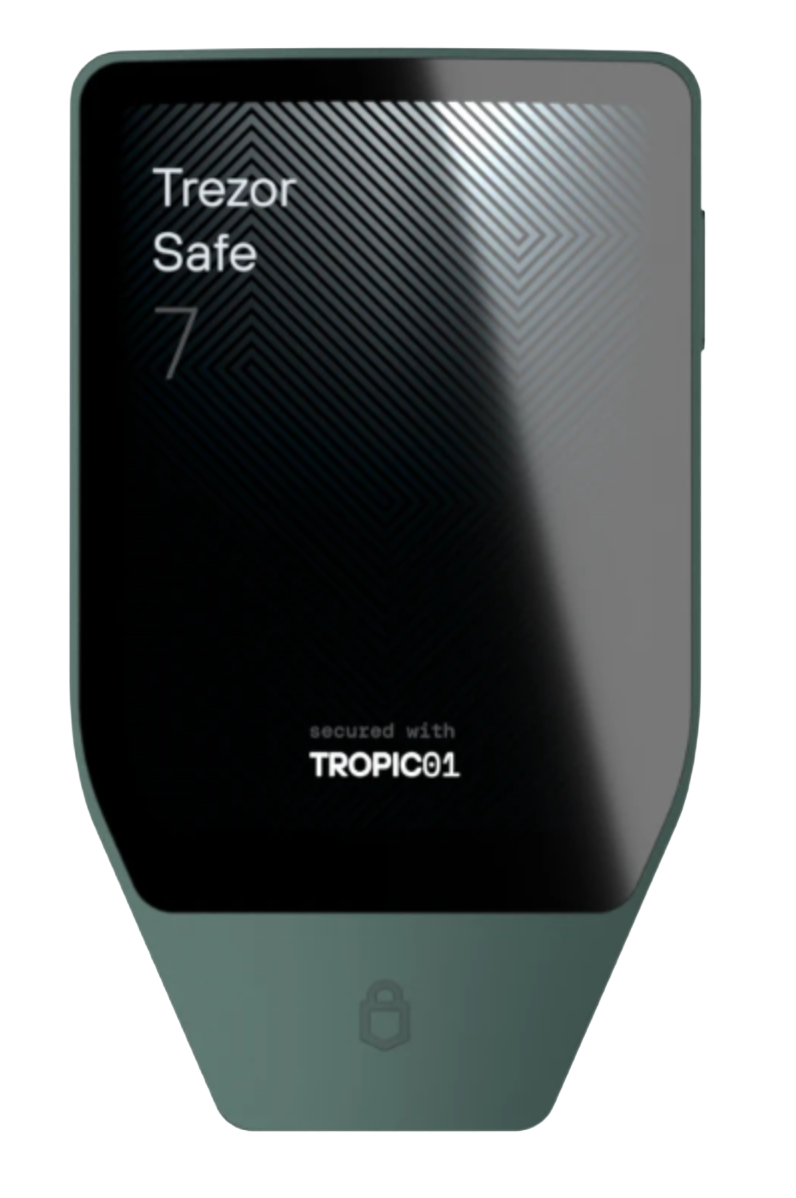
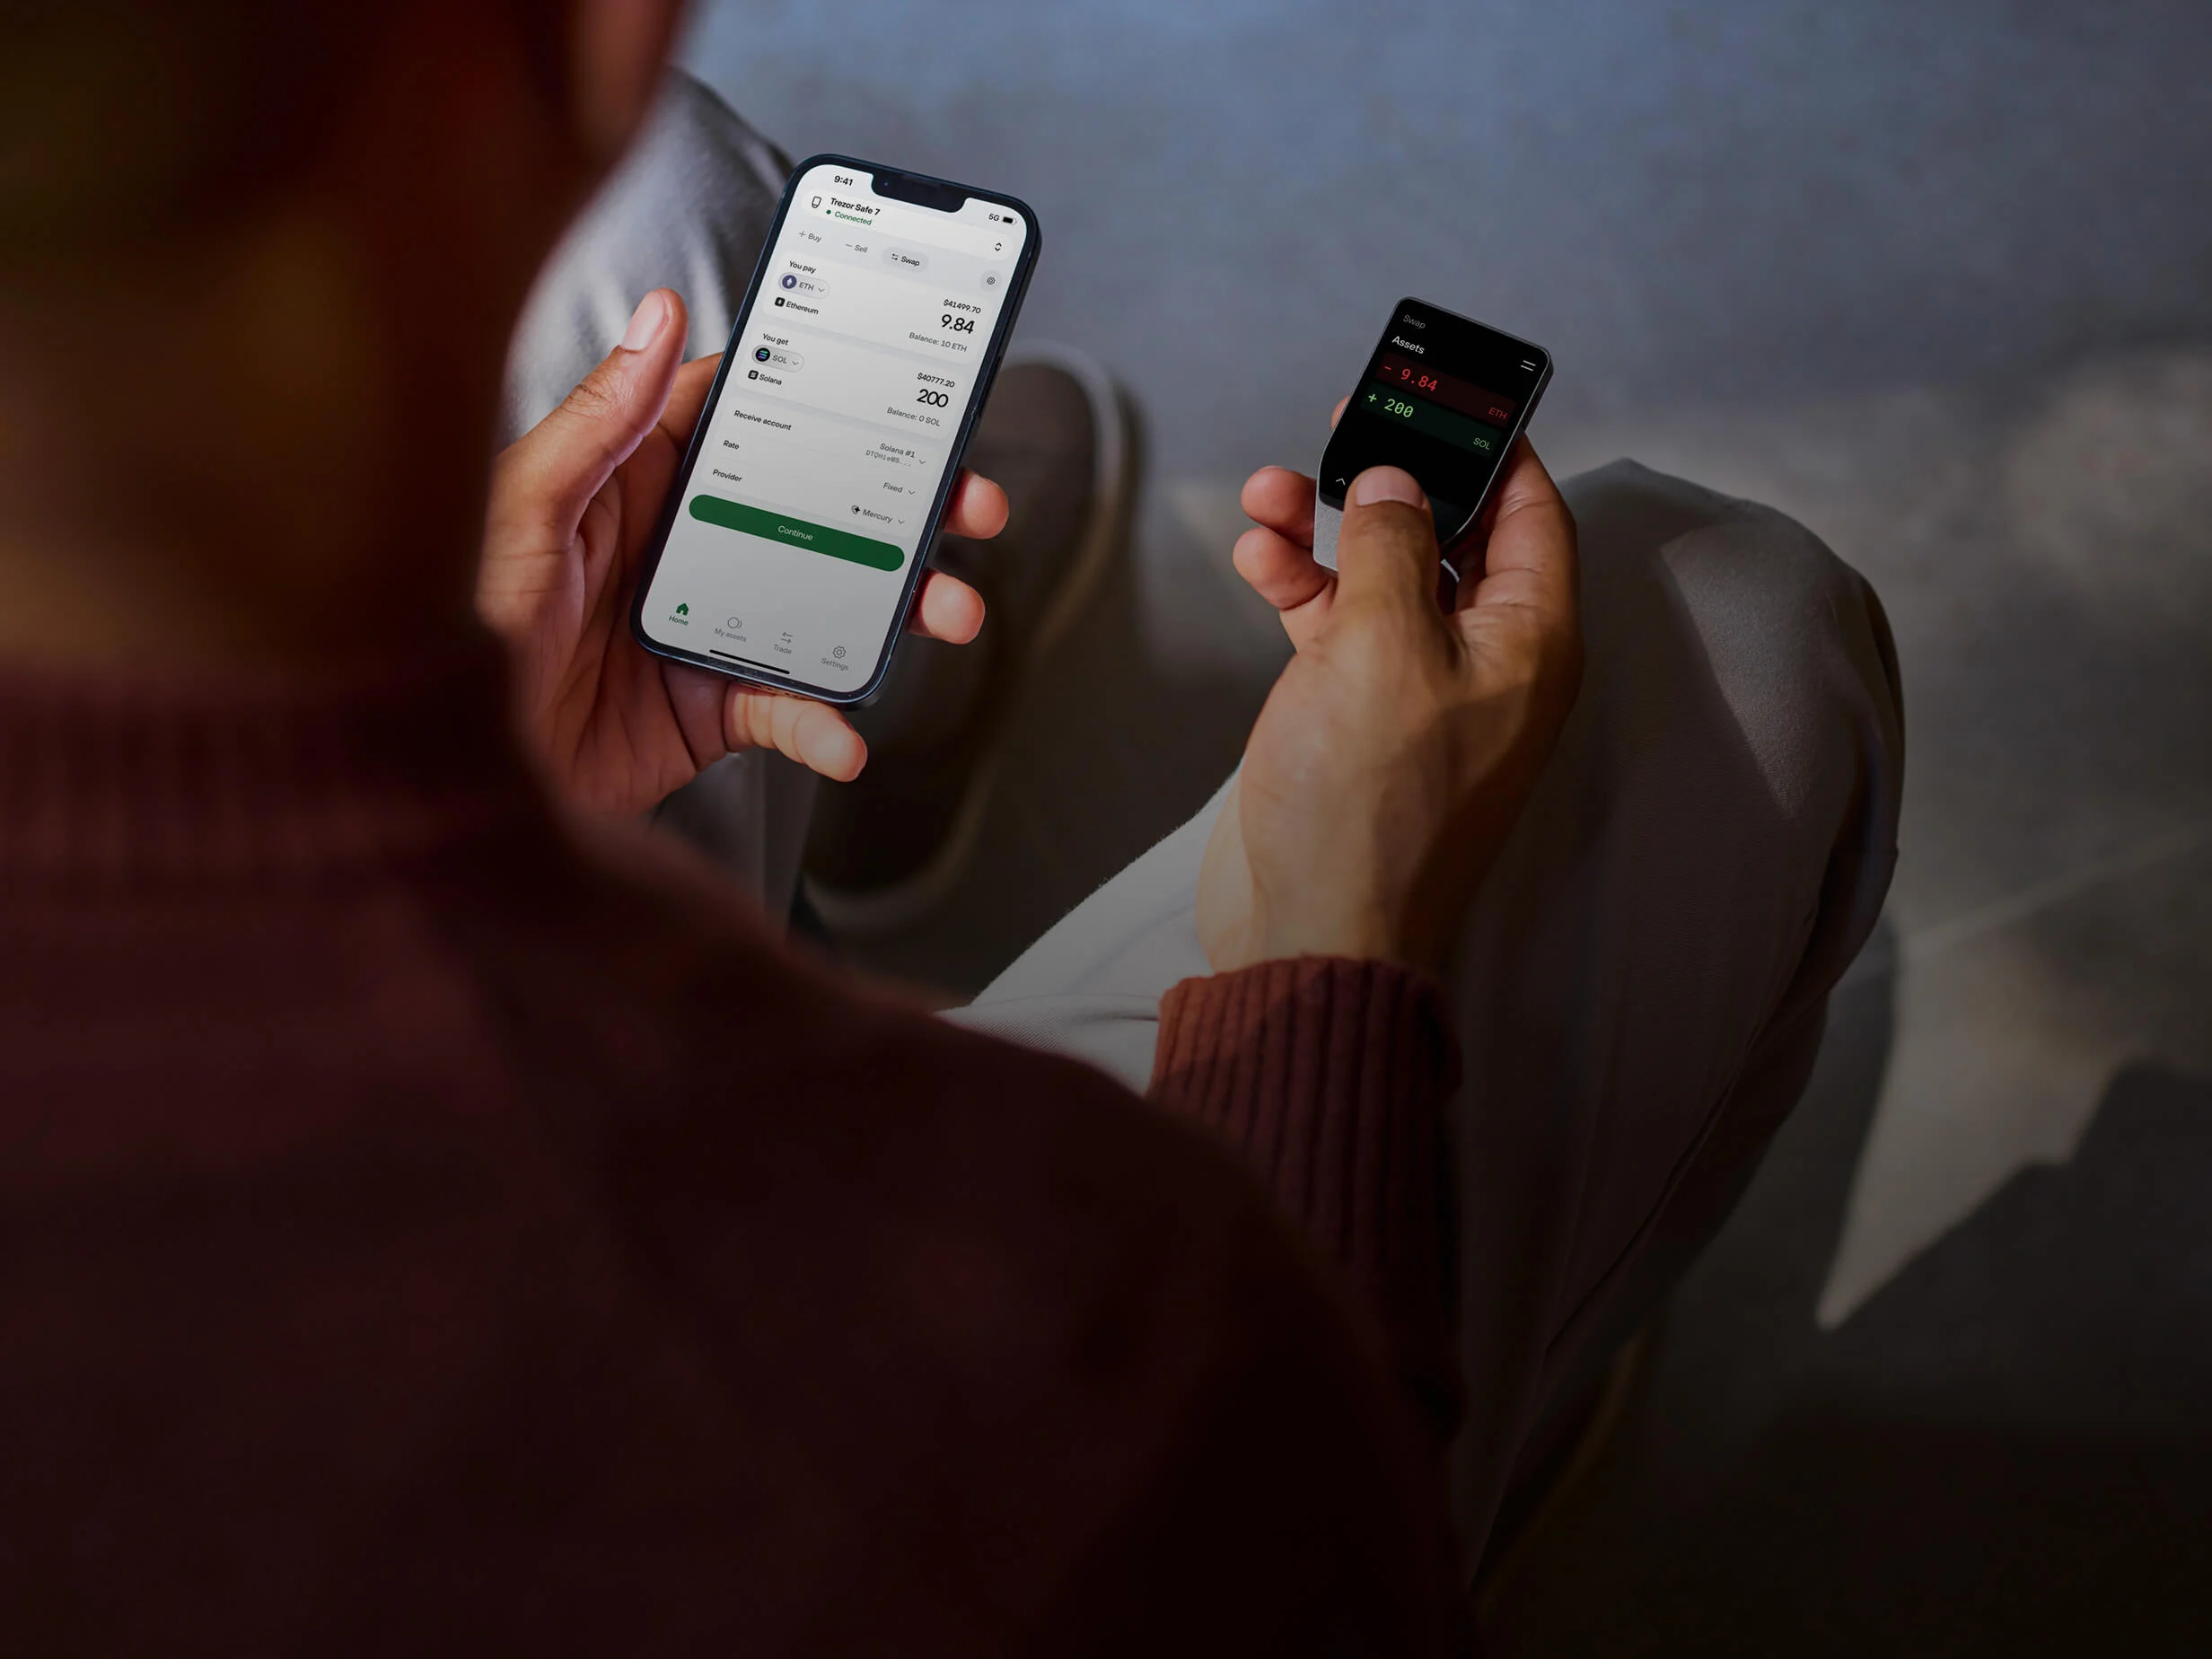
When you receive or send crypto, the device adds a separate review step for addresses, amounts, and transaction details before approval.
Trezor Suite connects the hardware wallet to everyday account management. Use it to initialize a device, create accounts, generate receiving addresses, send transactions, review history, and manage supported assets.


A hardware wallet is most useful when the review step is treated as part of every transfer. Trezor shows important transaction information through the device workflow so users can check what they are approving.
Start with device initialization, then create accounts, verify receiving addresses, manage supported coins, check balances, and prepare transactions from the same wallet application.
During setup, the recovery backup is the method used to restore wallet access if a device is replaced, lost, or reset. Store it offline, keep it private, and confirm it before adding larger balances.
Create the wallet, set a PIN, write down the recovery backup, and confirm the setup before sending crypto to the first address.
Use a private physical record. Do not rely on screenshots, cloud notes, chat messages, or files stored on everyday devices.
A new compatible hardware wallet can restore the same accounts when the recovery backup is complete and entered through the proper recovery flow.
Some assets share the same name across different networks. Confirm both the asset and the network before withdrawing from an exchange or another wallet.
Many assets are managed directly in Trezor Suite. Others may require a compatible wallet application while the Trezor device remains part of the signing flow.
For many users, a hardware wallet holds core balances while smaller accounts handle frequent transfers or app interactions.
Trezor helps organize the steps that matter before a transfer: choose the right account, match the network, verify the address, and approve the transaction on the device.
The wallet setup centers account access on a dedicated hardware device and a recovery backup, rather than a hosted account alone.
Receiving addresses and outgoing transaction details can be checked through the hardware wallet workflow before approval.
Backup and recovery are part of the setup process, so wallet access does not depend on one physical device alone.
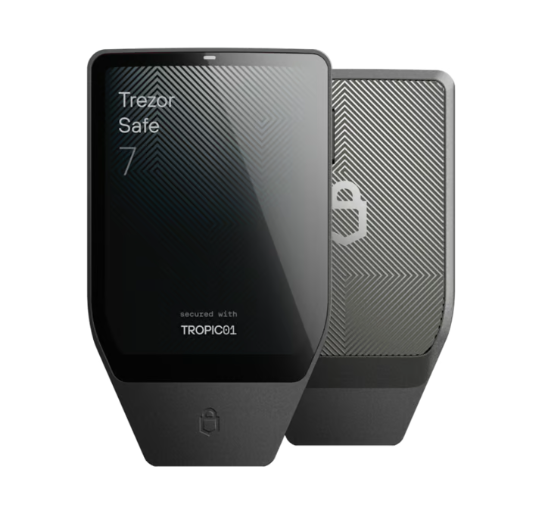
For users who prefer a larger display, modern connectivity, and a more advanced hardware wallet experience.
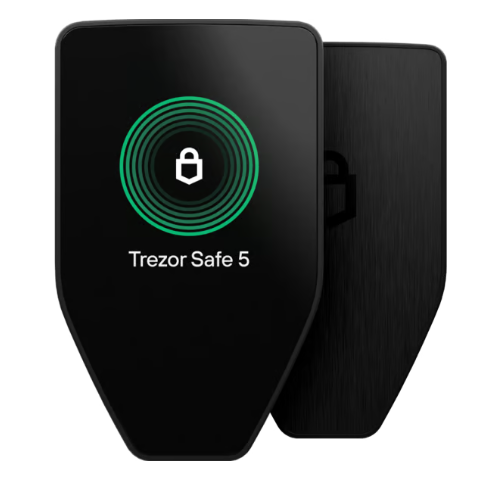
A touchscreen hardware wallet for users who manage crypto regularly and want a clearer device interface.
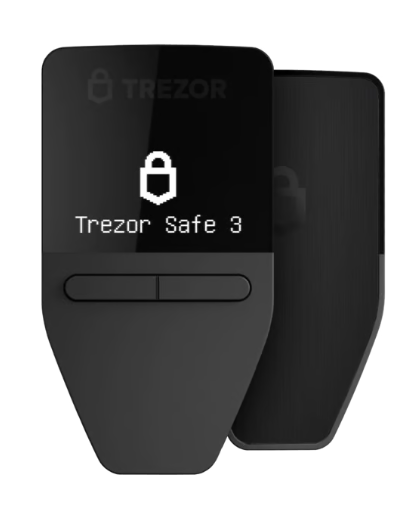
A straightforward model for setting up a hardware wallet, storing a recovery backup, and managing core accounts.
It provides a dedicated device workflow for managing crypto accounts, confirming transactions, and restoring access through a recovery backup when needed.
Trezor Suite is used to set up the device, create accounts, receive crypto, send transactions, check balances, review history, and manage supported assets.
No. Crypto assets are recorded on blockchains. The hardware wallet is used to manage account access and transaction approval.
Yes, when the recovery backup is complete and private, access can usually be restored on a compatible Trezor device.
Check the exact coin, token network, device model, firmware, and whether the asset is managed in Trezor Suite or through a compatible wallet application.
Create the receiving account in Trezor Suite, verify the address on the device, choose the matching withdrawal network, and test with a small amount first.